Posted on Leave a comment

Afternoon of workshops

I had a very inspiring afternoon at a fundraiser event for the Manitoba Crafts Museum. There were many different demonstrations and I had the opportunity to participate in three workshops.

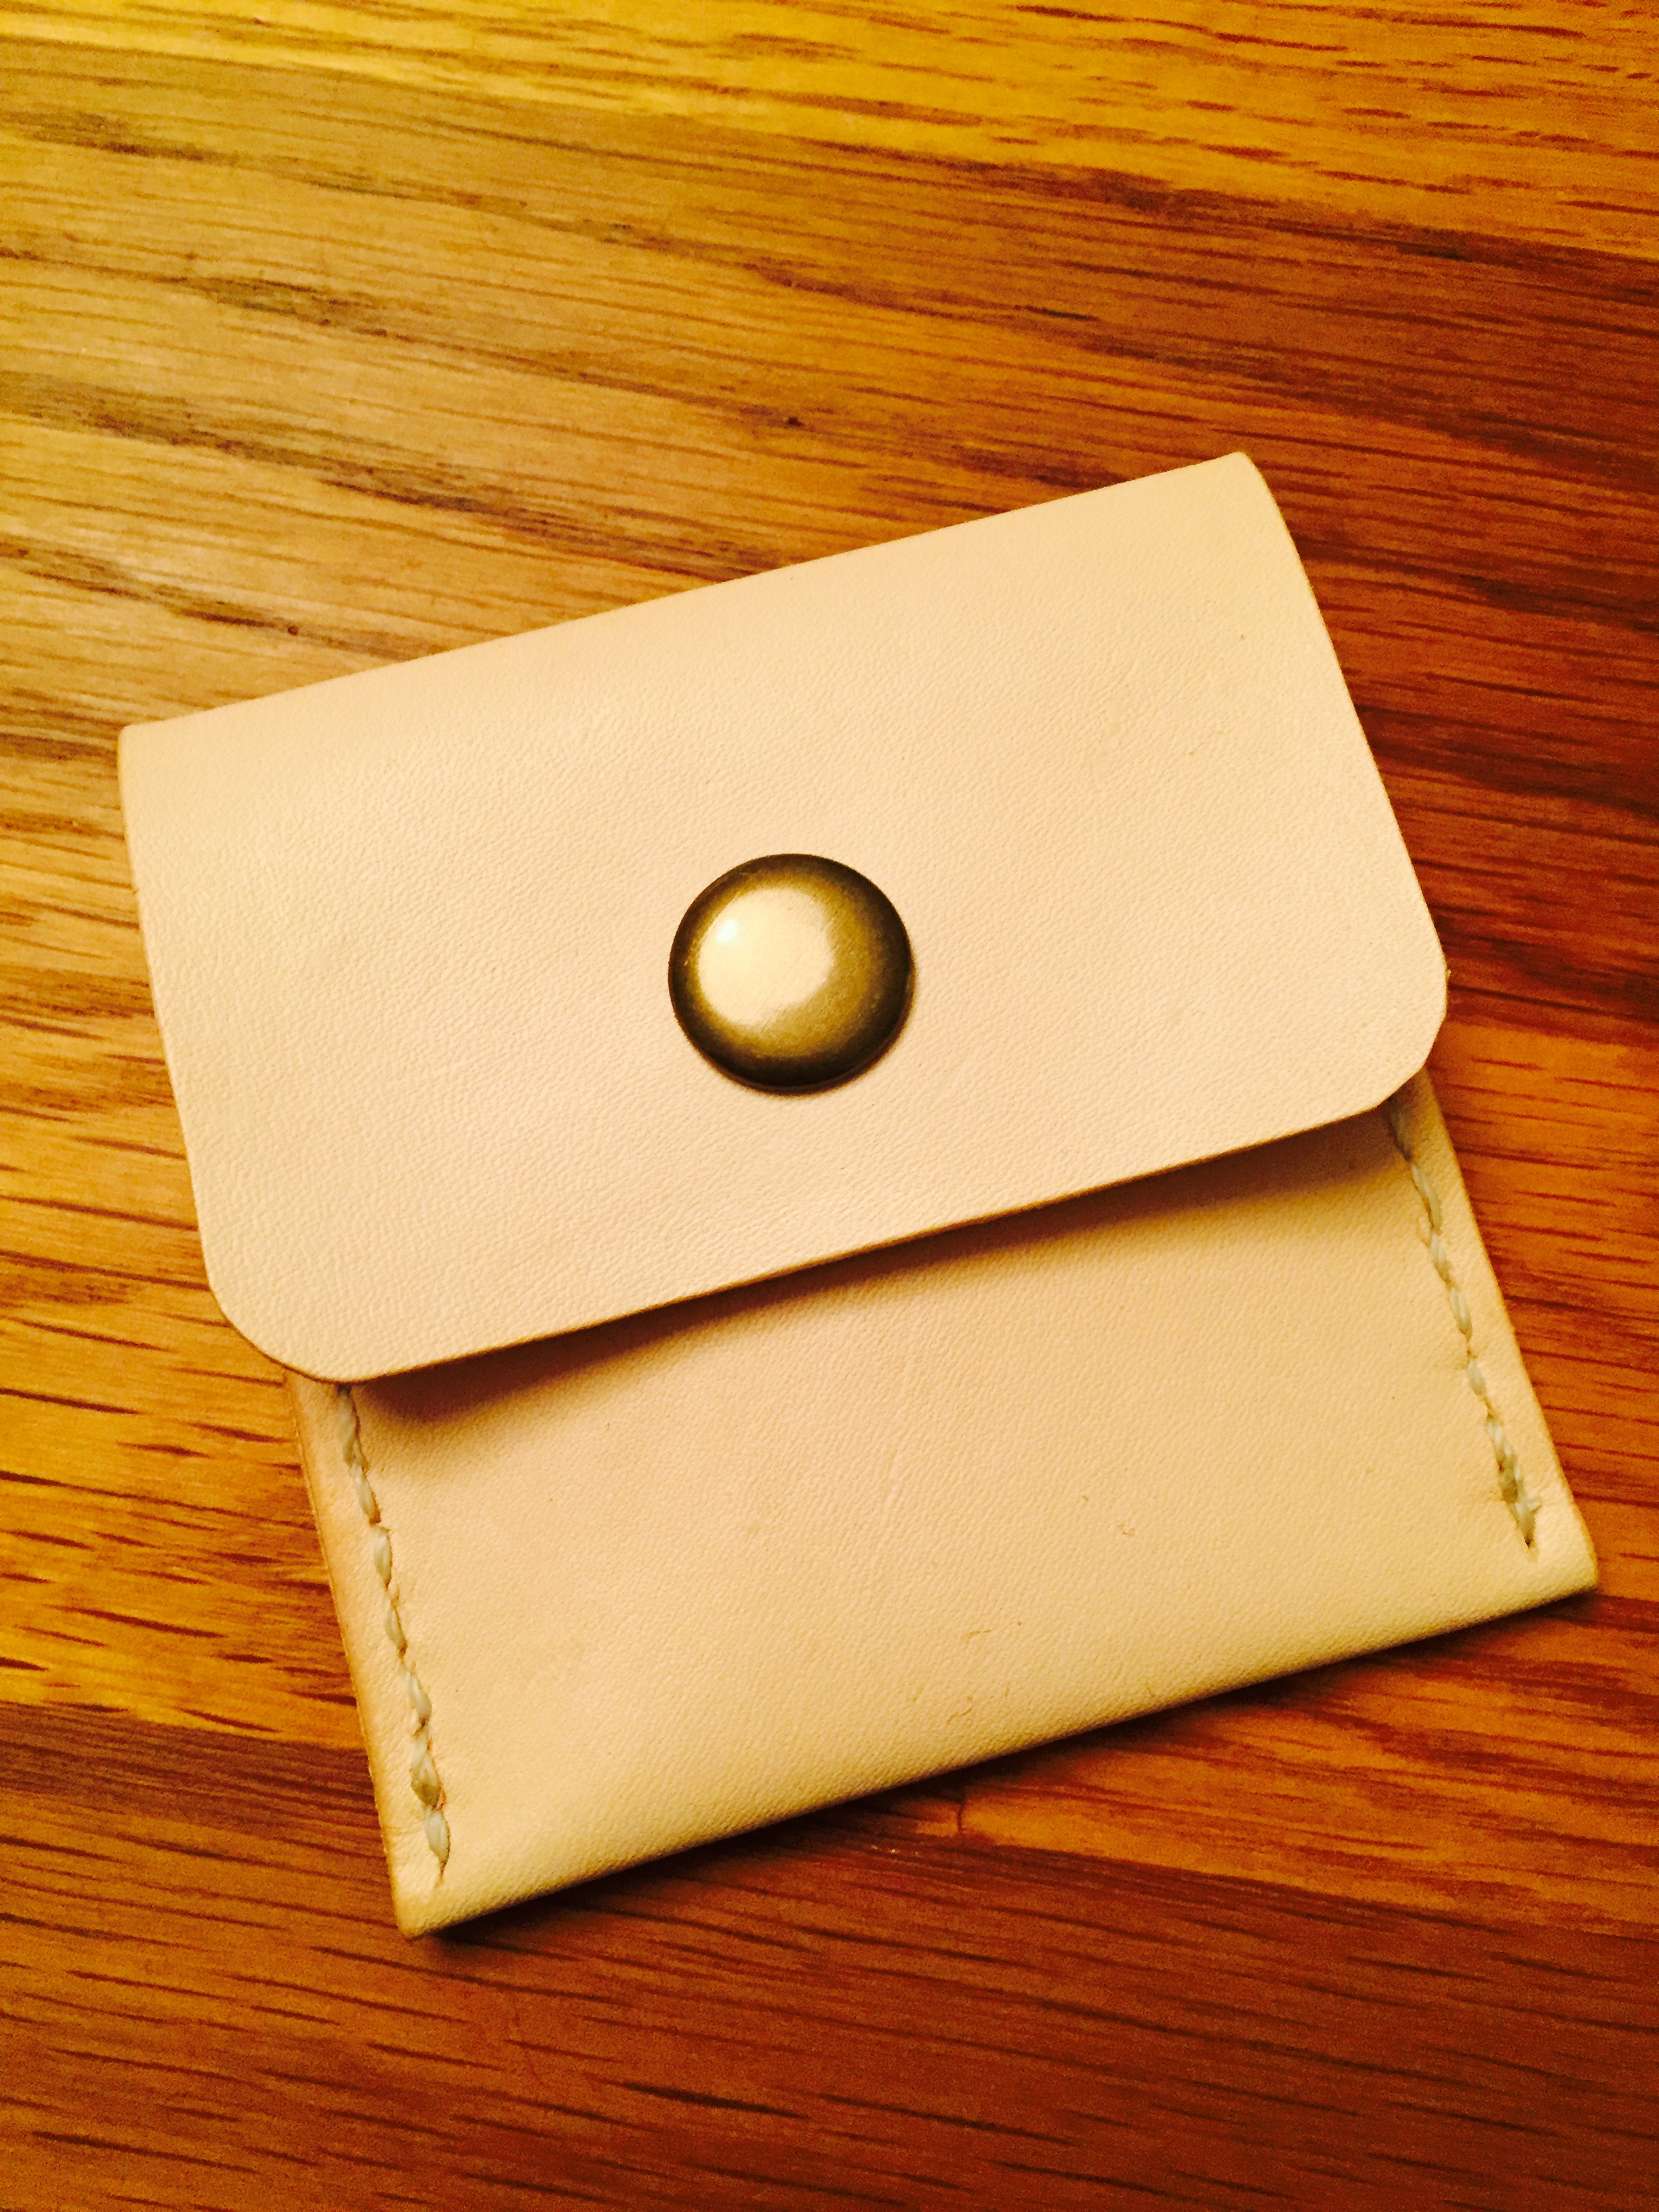
I attended the “Leather Work” workshop by Jan Castillo, where we learned the basics of leather working by making a small coin purse. Loved it and will definitely do this again.

Leather purse.jpg

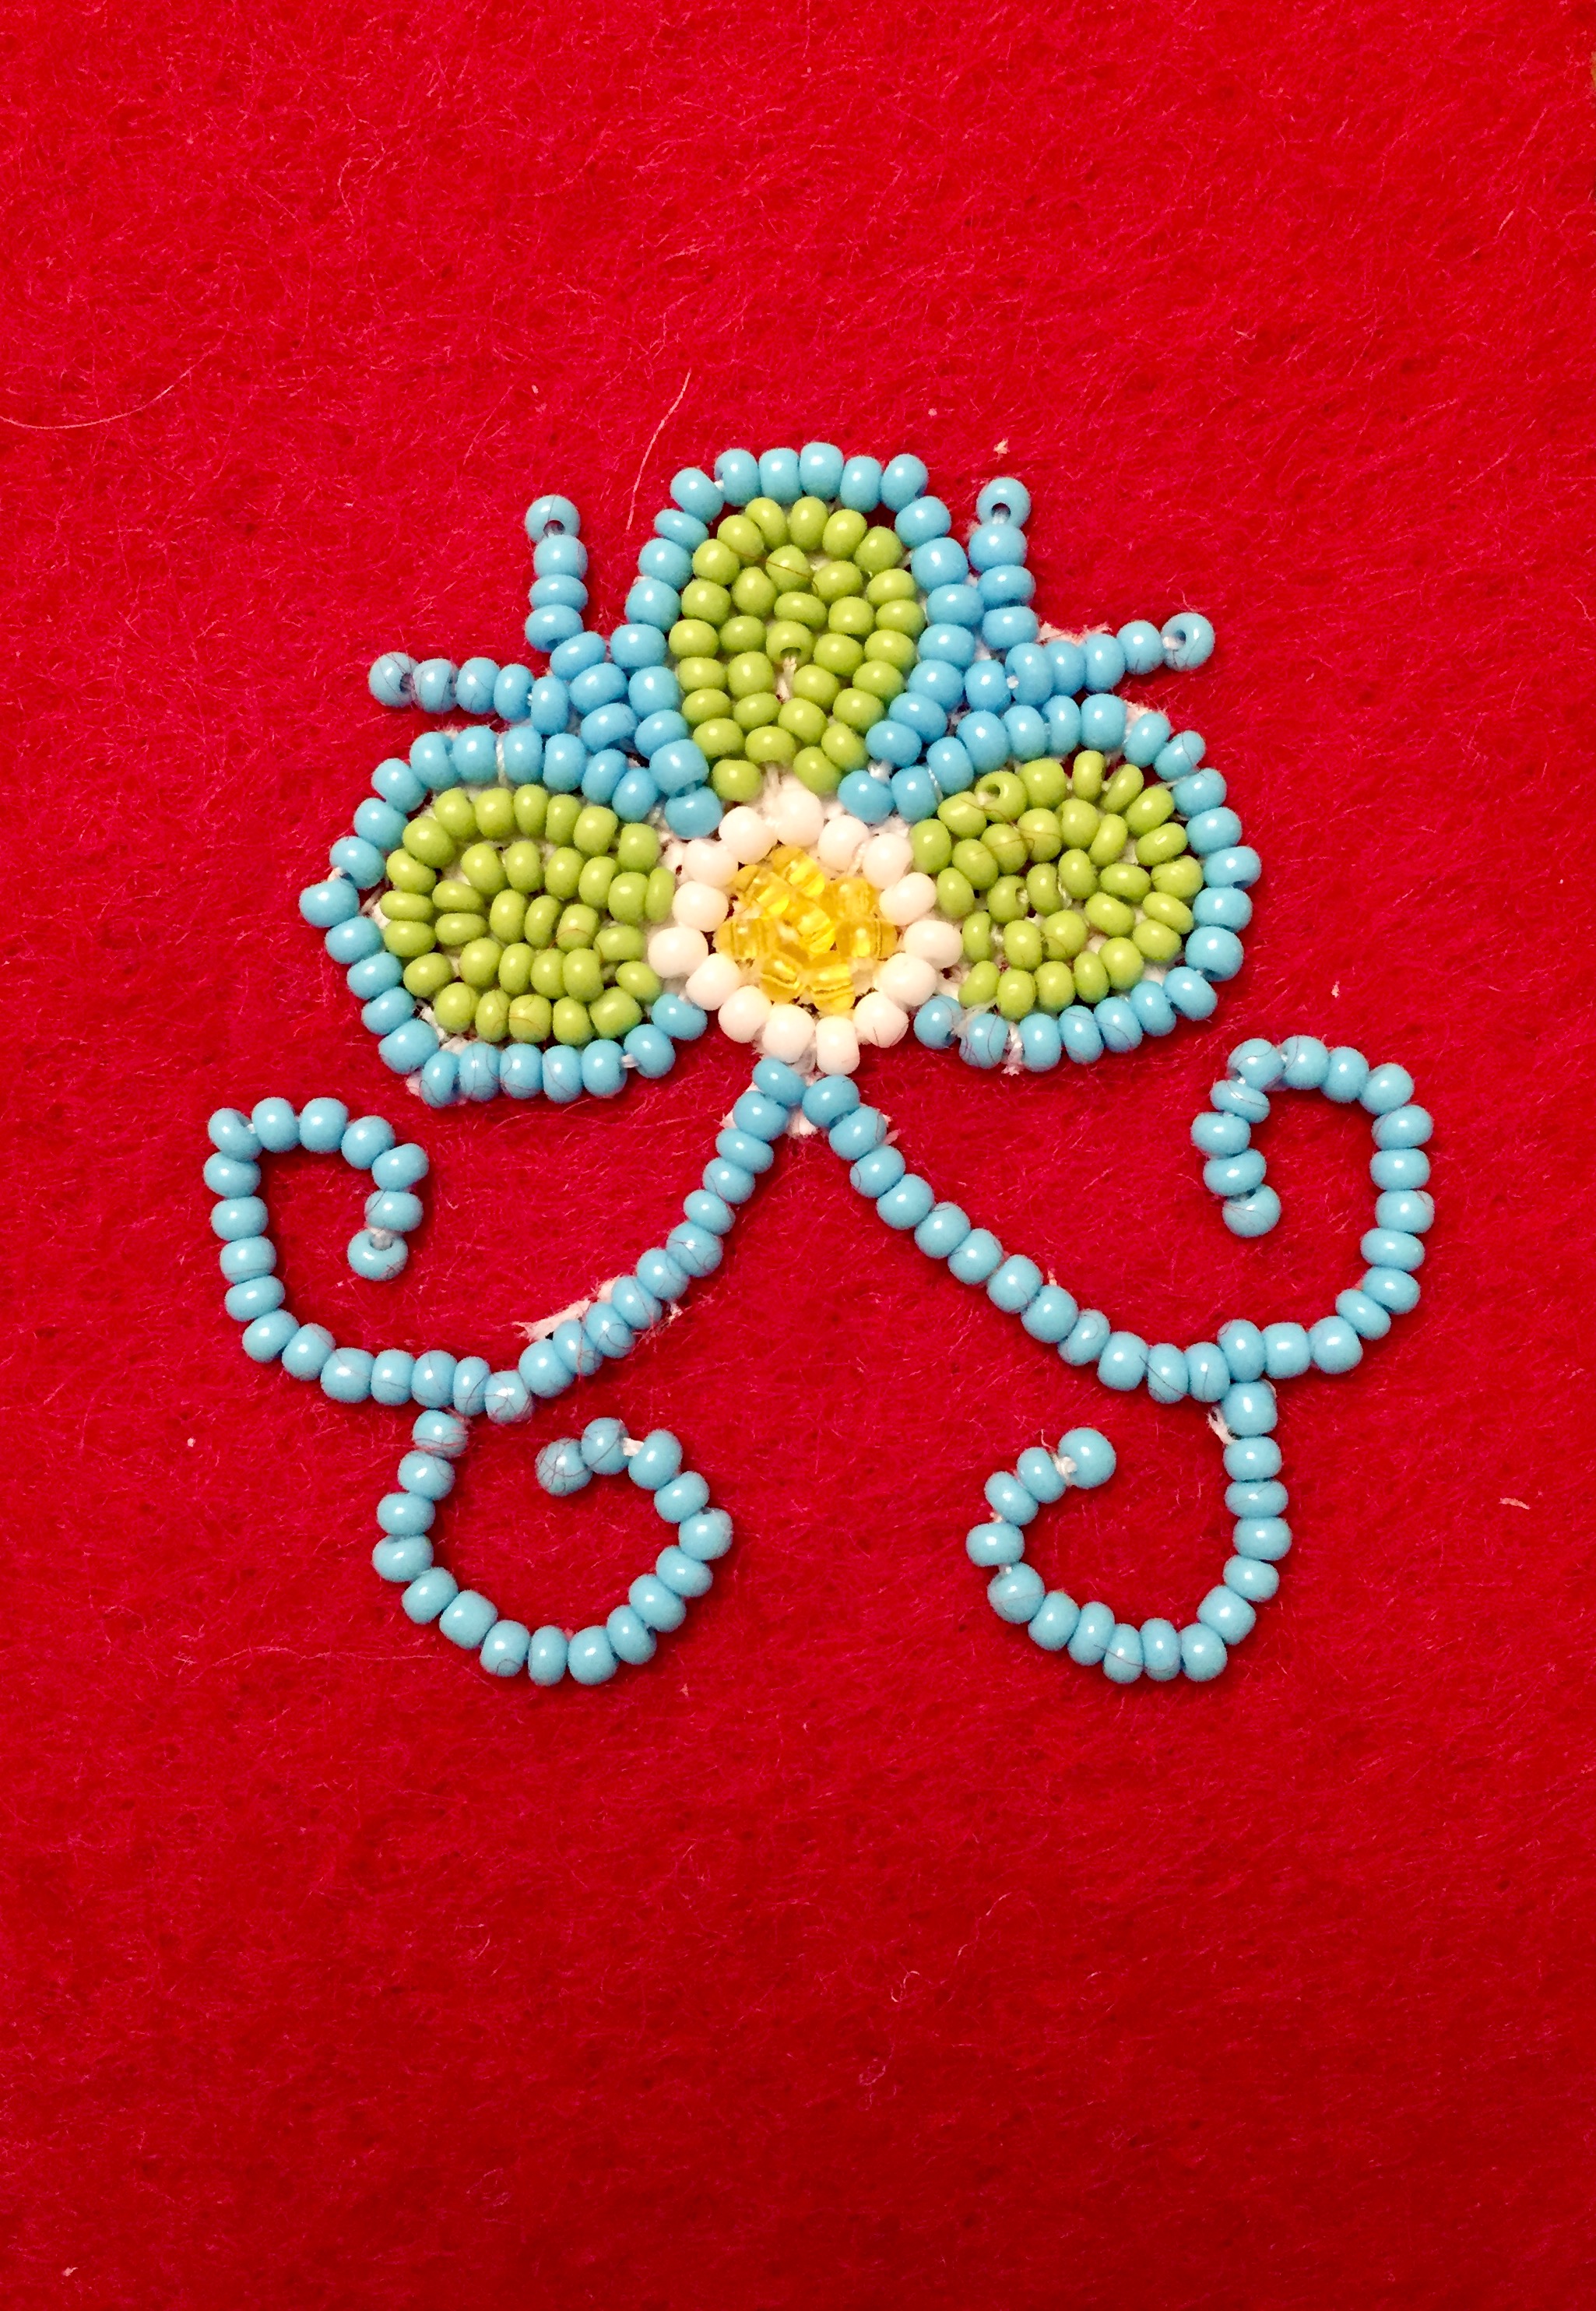
The second workshop I took was “Metis Beadwork” by Jennine Krauchi. Her work is just stunning. We learned floral beadwork using a two-needle technique. After spending a hour at the workshop I spent a couple more hours tonight finished up my little flower. A very humbling experience.

Beadwork.jpgBeadwork2.jpg

I ended the afternoon by learning a Japanese braiding technique called Kumihimo taught by Susan Styrchak. Hoping to transfer the simple string into a bracelet.

braiding.jpg

I really enjoyed learning some new techniques today and I will for sure participate in this event again next year.

Ciao

Anja


Posted on 3 Comments

DIY Christmas gifts – T-Shirt quilt

My favorite time of the year (except summer) is the time leading up to Christmas. I love how friendly people are, the beautiful Christmas decoration, Christmas music and I love giving gifts. The process of looking for the perfect gift or even better making the perfect gift for somebody you love. The anticipation of them opening the gift and the happiness and surprise on their face. I often make many of my Christmas gifts for my family and friends and this year was no different. I made Christmas ornaments for my friends (watch for DIY part 2 for instructions), I framed one of my screen prints for K. and the pièce de résistance this year is the quilt I made for him. He is a huge Star Wars fan and has been holding on to his old Star Wars T-Shirts. They have been sitting in a bag in our basement for years and he has refused to get rid of them. Years ago I had seen a quilt made from old T-Shirts and I thought that it would be a perfect way to recycle his shirts into something he can continue to use. He absolutely loved it and we have been enjoying naps on our sofa over the holidays covered with our warm and eco-friendly Star Wars quilt.

It was easy to make, so if you have a collection of band T-Shirts or souvenir shirts from your travels, this is a great way to make something that you can continue to cherish for many years to come. Here are step by step instructions with some pictures.

T-Shirt quilt
T-Shirt quilt
  1. Wash all your T-Shirts.
  2. Layout your shirts on the floor and decide on the size for each square (I made them all the same size but you could have different sizes. I decided on the size based on the shirt with the largest graphic).
  3. Create a template from a piece of cardboard.
  4. Place the template on each shirt and outline using a fabric marker or you can also use a Sharpie and then cut them out using scissors.
  5. Once you have all shirts cut place them on the floor and decide on the layout (I didn’t have enough shirts so I used the back of some of the shirts to add blank squares).

    Decide on the layout
    Decide on the layout
  6. Start sewing each horizontal row by placing the first squares together (with image area facing each other) and sew using a straight stitch. Then add the next square etc. until you have each horizontal line sewn together.
  7. Before you sew all the individual rows together, press the seams apart on the back and pin in place.
  8. Place the first two of the horizontal rows together (image area facing each other), make sure to line up the seams and pin in place.
  9. Sew using straight stitch and repeat with all rows.

    All squares sewn together
    All squares sewn together
  10. Decide on the size of your quilt (the size of your sewn together T-Shirts or do you want to have a border around).
  11. Choose a fabric for the back (I decided to use a nice warm fleece), and buy quilt batting (make sure to get some extra batting).
  12. Place fleece on the floor add quilt batting and place T-Shirt front on top.
  13. Use large safety pins to connect all 3 fabrics together (I used one safety-pin per square).
  14. If you are making a border with the fleece like I did, fold over the fleece and pin together.
  15. Pin corners.
  16. Sew along the border of the quilt.
  17. Sew the corners (I sewed them by hand with a blind stitch).

    Hand sewn corners
    Hand sewn corners
  18. Connect all 3 layers together throughout the quilt by placing a couple of stitches wherever the panels meet. This will ensure that the fabrics don’t move around. Remove the safety-pins.

    Place a couple of stitches to connect all 3 layers of fabric
    Place a couple of stitches to connect all 3 layers of fabric
  19. Snuggle up on the sofa with your warm quilt and have a hot tea or a hot chocolate.

If you have any questions just let me know. Enjoy!

Love

Anja

Posted on 1 Comment

Vintage beauty

Every time I go into my studio to paint I have to change my clothes but somehow when changing back into my regular clothes I always manage to get paint on myself. I thought about an apron or a big shirt but I decided that that just wouldn’t be good enough. When I was a little girl my mom had made me red coveralls with a race car patch on them. I was absolutely in love with them and I would wear them when helping my dad in his garage. So I started thinking that coveralls might just be the solution.

I found the perfect coveralls on etsy – vintage from France and the measurements were perfect! When I got home on Friday I had a package waiting for me. Yeah I got my coveralls and I can’t wait to paint in them. That is once it’s maybe a bit cooler in my studio. They are almost too nice to paint in.

Vintage, so stylish and eco-friendly!

Ciao!

Now this is stylish protective clothing
ok I won't be wearing my glasses in my studio
Posted on Leave a comment

At the Farmer’s Market

If you are looking for something nice to do this weekend, come to the Forks and visit me at the Farmer’s Market. I am sharing a table with the fabulous ceramic artist Charlene Brown. So there will be lots of eco-friendly jewelry, photography,  textile products such as purses, cup cozies and hair accessories and of course pottery from clayhaus. The Farmer’s Market takes place in the Market Plaza from 11:00 a.m. until 4:00 p.m. See you on Sunday!

Ciao

The Forks Farmer's Market poster - courtesy of The Forks Market
Posted on 3 Comments

weekend look

Here is another flower I created this weekend to go with my summery outfit. Super easy to make. I just cut out a string of pedals using the lining of an old jacket (perfect use for the lining of a jacket I had used to make cup cozies). I stitched one long line through the fabric and in the end gathered it all together and voila a funky flower was born from a piece of old clothing. Have a look and if you would like to get more instruction on how to make it just email me at anjastudios@shaw.ca

Ciao


Posted on Leave a comment

Inspired by a wedding shower game

It was a big day on Sunday. I was going to my first ever wedding shower. I had heard many stories, not all good and I was feeling a bit nervous about it.

The shower turned out to be a positive surprise. It turned out that everybody was really nice and welcoming, the gifts the bride received were all so personal and amazing and even the games I had been dreading were fun. The old “make a wedding gown out of toilet paper” was so much fun. I have to say that we had a bit of an advantage having lots of creative people on our team and the gown ended up looking pretty good. As part of the gown I had created a large flower head-piece a la Carrie Bradshaw, which everybody commented on and it inspired me to try it out with fabric that night. I started with an old polka dot scarf and recycled the material. I made the flower smaller and attached it to a headband I already had and voila I had something way more interesting than my old headband. Last night I took some feathers off a headband that had broken and made a new one out of it. I am so excited and I am going to try out some more fun flowers and maybe incorporate some feathers and make some more head pieces, so make sure to check back.

Recycle. Reuse. Recreate.

Ciao


Posted on Leave a comment

In Plain View

This weekend is the studio tour “In Plain View” again. It’s a great opportunity to get a peek inside lots of Winnipeg based artists’ studios and see their work. Enjoy the great whether this weekend and take part of this self guided studio tour. For a complete list of participating artists visit www.inplainviewwinnipeg.com.

Please make sure to add cre8ery to your list of studios to visit. It’s a great opportunity to see lots of different artists’ studios in one convenient location.

Come and visit us at cre8ery, 2nd floor – 125 Adelaide between noon and 5:00 p.m. this Saturday and Sunday and check out some of my jewelry, bags, photography and paintings. Enjoy the tour and I hope to see you this week-end!

Ciao for now!

Posted on 3 Comments

At the market

I wanted to thank everybody who came to the Forks Market to support me and to check out my spring collection. It was 2 days full of meeting great new people and having a chance to show off my work. I even managed to participate in the chocolate festival and taste some incredible chocolate treats. The Forks Market really is an inspiring place to be at. I am planning on being back to sell my work at the Forks a few times this summer by participating in the Outdoor Farmers Market.

If you missed me this week-end and are looking for the perfect gift for mother’s day just give me a call or send me a quick e-mail to arrange a time to come by my studio (p. 204.510.3939, anjastudios@shaw.ca).

Ciao!

Anja

setting up early in the morning
having fun
my stall
textiles
jewelry & photos
more jewelry and photos
anja studios
See you next time
Posted on 1 Comment

Green Christmas Gifts

I hope that you had a wonderful Christmas filled with quality time with you friends and family. K. and I had a really nice Christmas. We went a bit overboard again with gifts. It’s just so hard because there are so many things I think he would love. I absolutely loved the presents I got from him. I got a new winter jacket and hat made from hemp (hoodlamb.com). And they are not just pretty and warm! The outer shell is made from 55% hemp and 45% organic cotton and the lining is made from hemp and recycled plastic. I absolutely love it!

I made most of my Christmas presents again this year. Here is what I gave as presents: my jewelry made from recycled silver, beach glass, beach/river rocks, hand-made pottery, eco-friendly cup cozies made from recycled clothing, homemade hot chocolate mix and homemade cookies.

Did you get or give any green gifts for Christmas?

I apologize for the bad pictures of my jacket (K. was having a hard time with my camera 🙂 ).

Ciao and happy new year!

Posted on 1 Comment

Made from recycled clothing

Here is another one of my green creation: The eco-friendly cup cozy made from recycled clothing. The perfect accessory for the fashionable and eco-minded coffee or tea lover. It’s a great way to reuse the fabric from your favorite jacket. 🙂 If you like them let me know! They are $10, which makes them a perfect stocking stuffer.

Recycle. Reuse. Recreate.

Ciao