In 2011 and 2013 I participated in the Sketchbook project organized by the Brooklyn Art Library in Williamsburg, Brooklyn, NY. I was sad that I didn’t get a chance to go to either one of the vernissages or catch the exhibit in one of the many cities it toured in. You can only imagine just how excited I was when I finally had a chance to visit the Brooklyn Art Library last Saturday.


It was amazing to see a library filled with sketchbooks, to finally see my books as part of this permanent collection and to get a chance to see other artists’ work. It’s incredible that the Sketchbook project has grown to include works from over 35,000 artists from over 135 countries.
Here is a bit more info on my sketchbooks:
My 2011 sketchbook “Below the Surface” is a a collection of very personal self-portraits consisting of poems and illustrations. The books toured the US from February to July, 2011 to Brooklyn, Austin, Portland, Atlanta, Washington DC, Seattle, San Francisco, Chicago and Winter Park Florida.
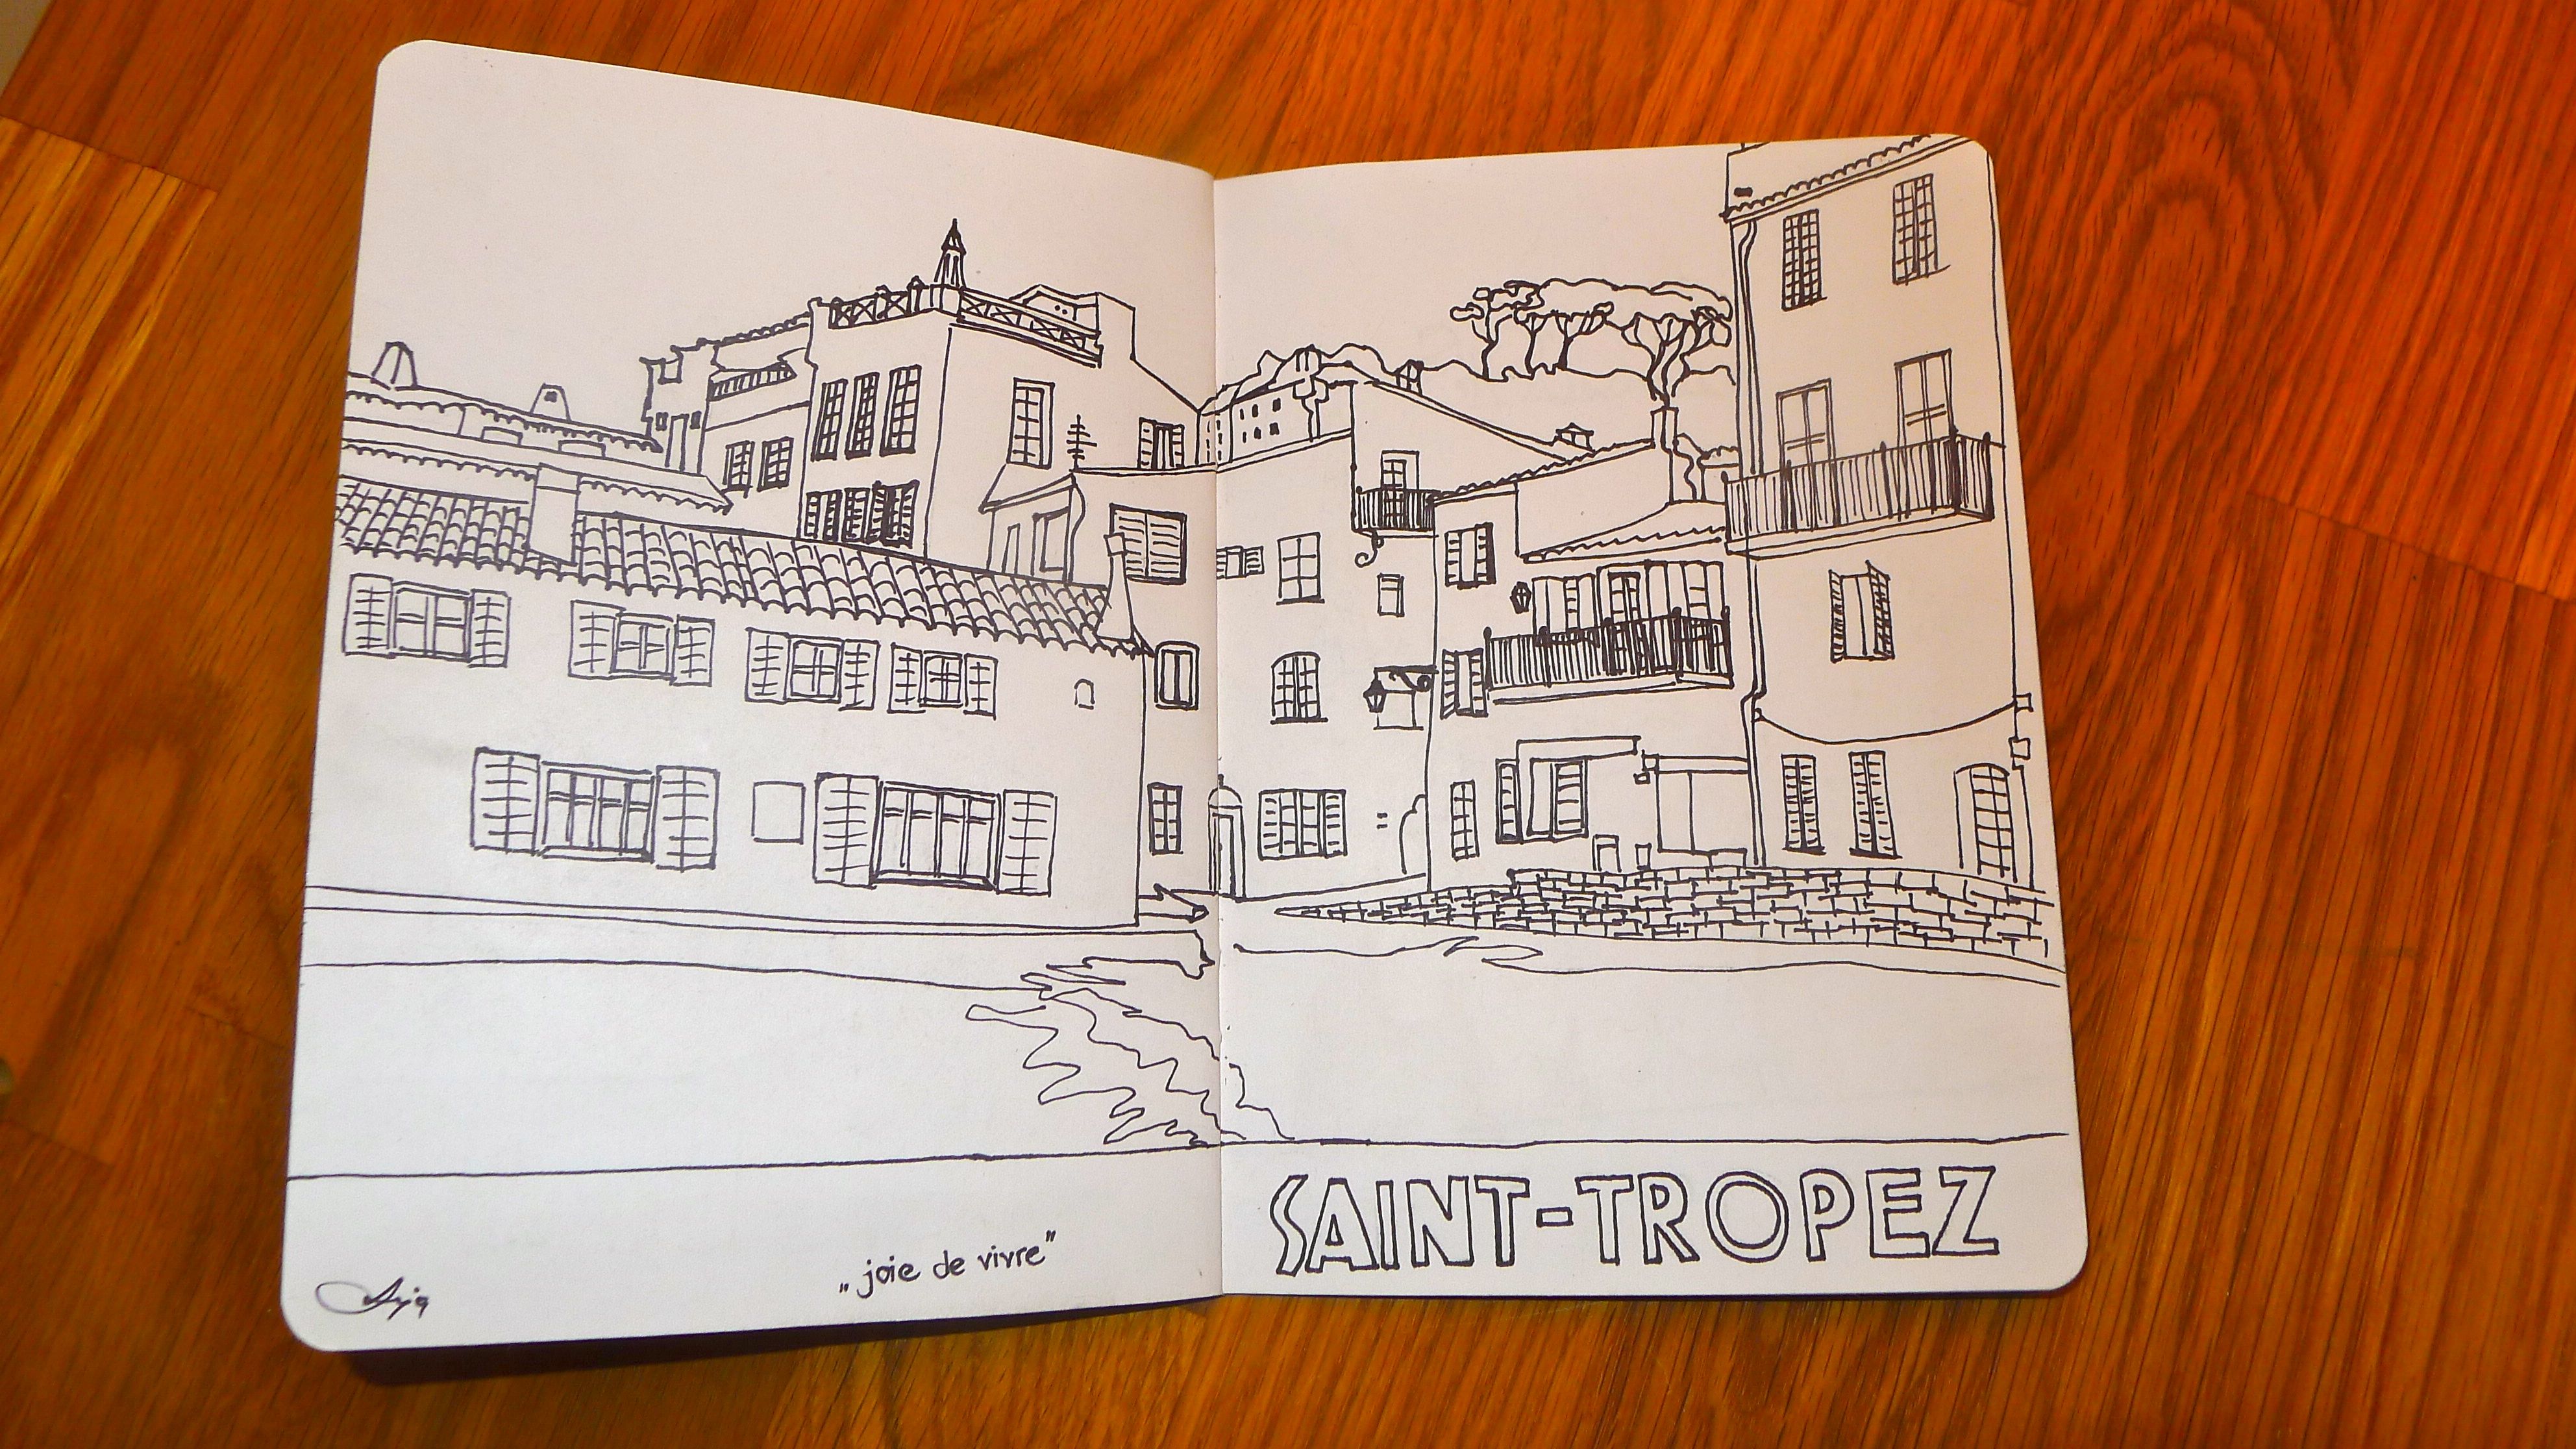
My 2013 sketchbook “J’amerais mieux te connaître” was a reflection of 2012 – a year full of change, opportunity and travel. I got to travel across Europe and spend some time in Hawai’i on business. The simplicity of pen and ink takes away the noise surrounding each place and shows the purity of my love for each of these places. The books toured from March to August 2013 to Brooklyn, Austin, Atlanta, Toronto, Portland, San Francisco and Los Angeles.
If you are in NYC take a quick subway ride to Williamsburg and visit the Brooklyn Art Library. Definitely worth a visit.
I hope you have a great weekend!
Ciao
Anja